This is a very simple project and takes little prep time. Depending on what you wish to use, it is also relatively inexpensive to complete.
What you need:
Tissue Paper/Party Streamers (different shapes and sizes)
Laminate Sheets/Contact Paper (I use laminate sheets)
Double sided sticky tape
Black construction paper
Scissors
Stickers
Sharpie (Used to write the child's name)
Rolling Pin

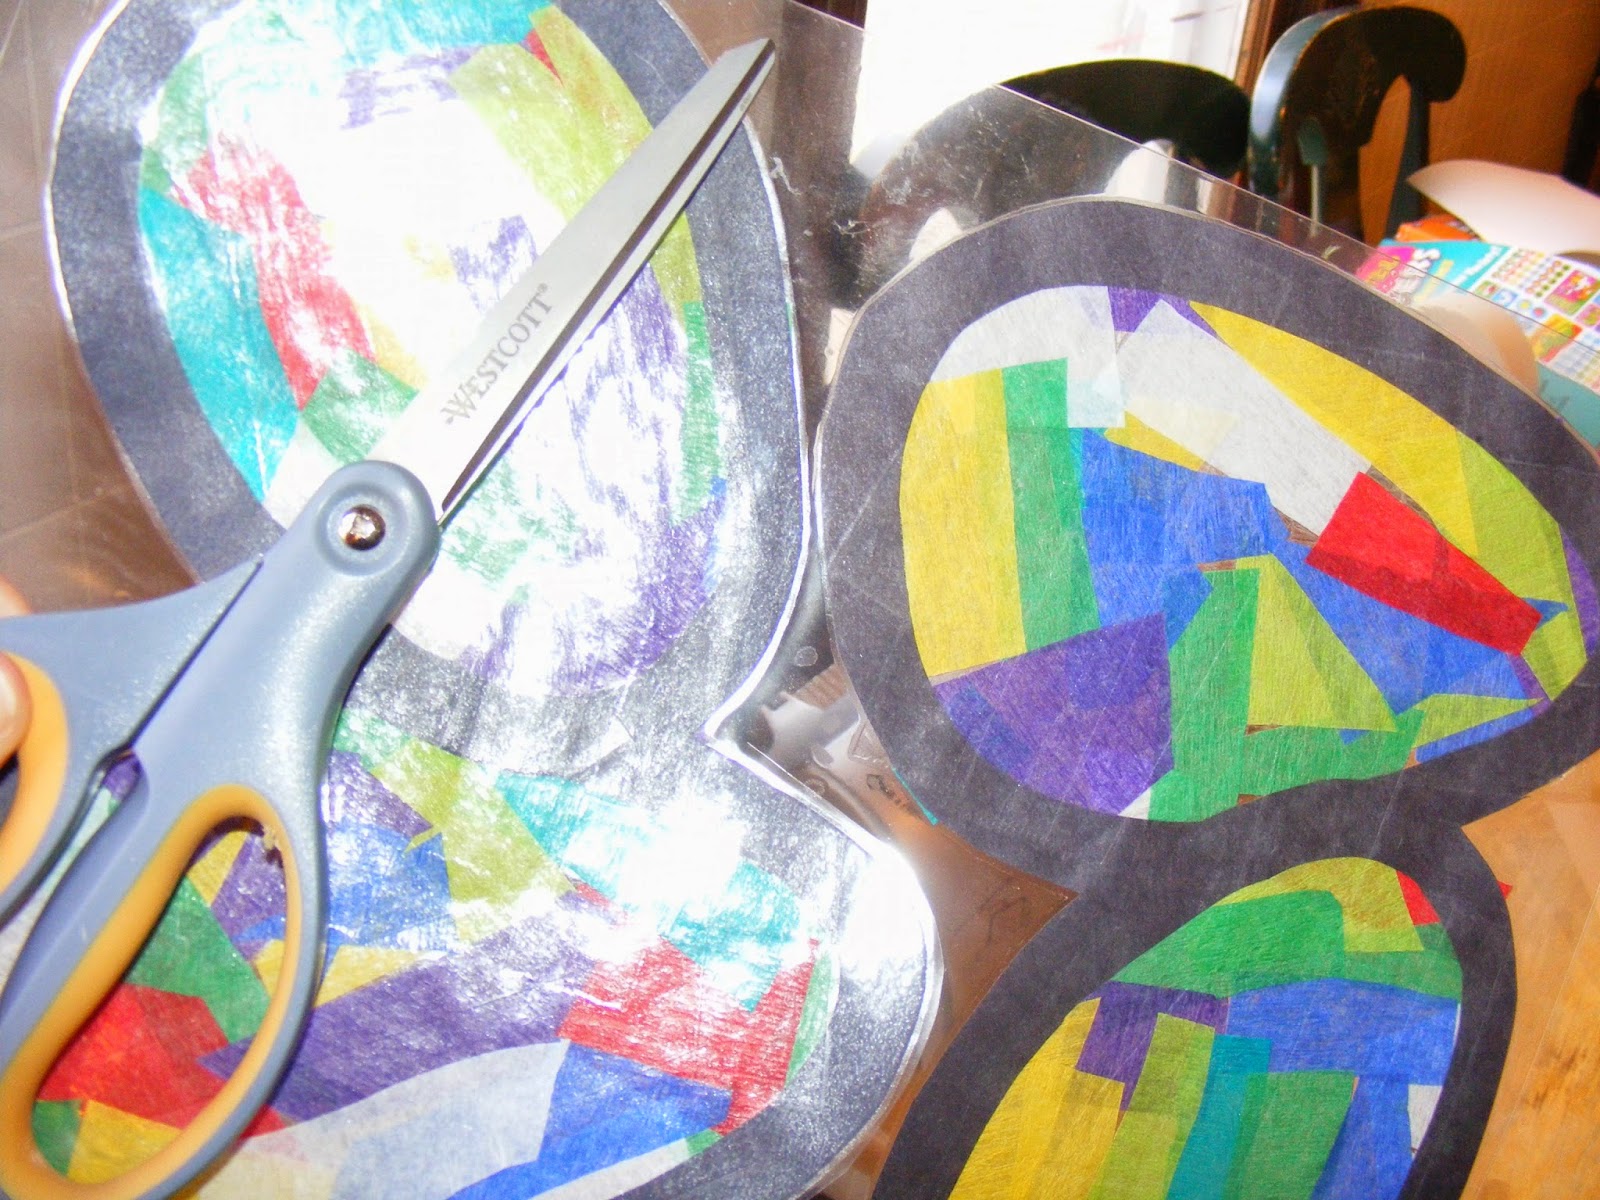
1. Draw and cut out an egg design from the black construction paper. This will produce a good portion of waste, So I recommend you have a scrap box for random projects or sensory needs.

2. Cut tissue paper or party streamers into various shapes and sizes. They are best the smaller you can get them. They do have to be large enough for the children to handle them.

3. If you are using contact paper, position the egg designs carefully on the sticky side of the construction paper. If you are using the laminate, use the double-sided sticky tape to adhere the egg designs on. Try to optimize your space to make less waste. I was able to fit 2 egg designs on an 8.5x11" piece of laminate.

4. If you are using contact paper, skip this step. If you are using laminate, lay a layer of sticky tape down on the inside of the egg. Be sure the tape does not extend beyond the construction paper line. It will not laminate well if it does.

5. Begin to let the children carefully place the tissue paper inside the eggs. Make sure they know to keep the tissue inside the black lines.

6. Once they have finished filling in the eggs with tissue paper, either lay another piece of contact over the top or lay the top piece of laminate paper on the top.

7. If you used laminate, skip this step. If you used contact paper, use a rolling pin to press out the air from your project. Use a heavy book to press your eggs for one hour.

8. If you used contact paper skip this step. If you laminate, run the project through your laminating machine. I usually run it through twice.


9. Cut the shapes out, Leave an 1/8" border around the designs. You may need to leave more depending on how the air on the edges appear.
10. Allow the children to apply stickers if they wish to.


11. Hang your project up in the window and enjoy.


No comments:
Post a Comment